DataConnectIT:Installation
Contents
6. Installation
6.1 System requirements
- A Windows machine
- .Net 4.5 or higher installed
6.2 Installation guide
1. To install DataConnectIT, double click on the file DataConnectIT.exe
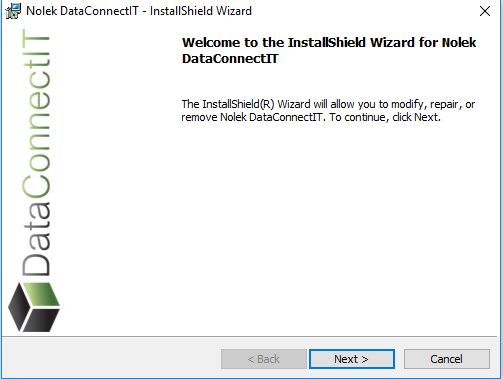
2. When the exe file is double clicked, a window will open. In this window press Next
Option for changing path of the installation files:
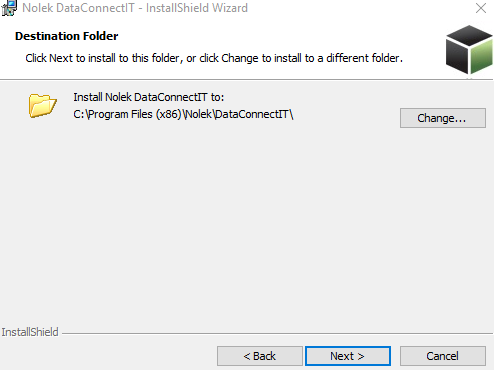
- In the next window, the user has the option to change the path of the installation
- By clicking the “Change…” button (see image below), a new window will open
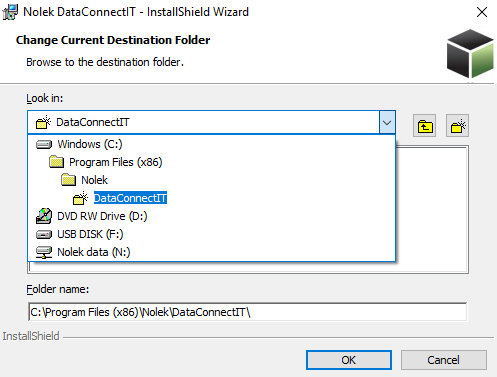
3. In the window below you can select the path of the installation folder
4. By default, the installation will install all the files in the Programs Files(x86)
5. If you do not want the files to be in Program Files(x86), you can choose to change the path of the folder by clicking the dropdown button, and then navigate to the folder of your choice and press OK
6. Continue by pressing the button Next
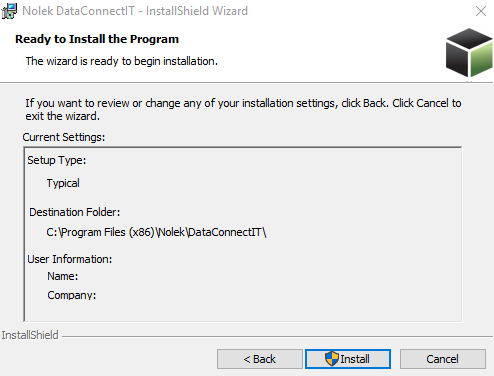
7. In the next window, the information of the Destination Folder and the user information is displayed
8. By pressing the Install button, the installation process will start
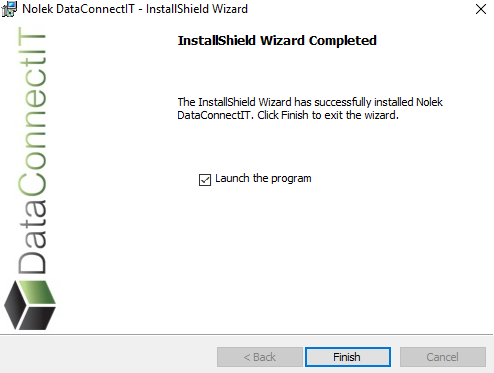
9. After this, the installation is finished. In the last window there is an option to launch the application directly or to run it manually
10. To launch the program just select “Launch the program”
11. After the installation has finished, you will see a tray icon in the menu bar and a shortcut on your desktop
12. The installation is now finished. To start working with DataConnectIT, simply click on the icon in the taskbar
13. When you have clicked the icon, a window will pop up like this:
14. Click Configuration and the Main Window will open
15. In this window there are more options, such as:
- To exit the DataConnectIT application, click Exit
- To start trigger process, click Start Trigger Process
- To stop trigger process, click Stop Trigger Process
- To reset the event log, click Reset Event Log
You are now ready to set up DataConnectIT (see point Options in the DataConnectIT Manual)

